build your own Lemonade Stand

My kids love setting up lemonade stands!
We'd usually just set up a card table and chairs.
Make a poster to hang on the front.
This year, we decided to make it a summer project to build our own stand.
My youngest had a lot of fun, shopping for wood, putting it together, painting, decorating and setting up her sale.--The little entrepreneur.
To build your own, you'll need:
6 fence planks (5/8"x 5.5"x 6")
4- 2" hinges
2- strip of wood (1" x 2" x 8")
small wood screws ( I used a size smaller than what came with the hinges)
Gorilla Glue
white paint
wood stain
thin scrap wood (approx 33"x 16")
nails (about 3/4" long)
2 hooks, light weight rope or bungee cord
Cut down your fence planks into two 32" pieces, you'll be left with a scrap 8" piece.
(sorry the angle of this picture make the dimensions look off)

Cut your eight foot wood strips into 2- 31" pieces and 4- 14.5" pieces.
If you can, get your wood cut at the home improvement store where you are purchasing. The great guys at Lowes cut mine, making this project so much easier!
Sand your pieces with an electric sander,
just to get off the splinters and really rough spots.
Lay your six pieces with the rounded top next to each other (for the front).
Place your 31" wood strips centered on them. One 3" down from the top and the other, 6" up from the bottom. I like to use a little Gorilla Glue on the back of the wood strip, then nail the strip to the planks. Do the same for the sides, using 3 planks together and the 14.5" wood strips.

Place your hinges in-between the front and side sections by your wood strips as shown. Make sure your hinge is placed to make the sides turn back when bent. The screws that came with my hinges were a little too long. I just subbed them out with some smaller wood screws that I had on hand in the garage.

The lemonade stand will be able to lay flat like this-- great for storage!

And stand up like this, with sides folded in to make your stand.

Here's how that corner looks from the front.

Next, you need a piece of wood for the table top.
It will sit right one the wood strips on the back.
I found this 1/4" thick piece of wood (33" x 14") in the scrap bin at Lowes. The width was perfect, wanted the length a few inches longer but hey, for free, I'll take it!

Just in case the sides got bumped or pushed out, I didn't want the table top to fall with all it's contents.
I added a hook on each side. It's just a framing hook. Screw it in down the middle, a couple inches in on the back wood strips.

I tied a light wight rope to each side. (I think I'll try a bungee cord though next time)
Now it's secure from any mishaps.

Next, the really fun part, paint!
I had an old can of white satin in the garage.
Just lay your stand out on the grass to paint. (You'll mow away any spilled paint!)
Let the kids have at it!


After it dried, I slightly sanded it again on the front
and added some watered down wood stain.
(Can't help going for the rustic look! ;)

It turned out so cute and wasn't that hard to put together.
Of course when it was time to set up the stand,
we jazzed it up with a little {Fabric Strip Banner}
And used our {Chalkboard Easel} to advertise.
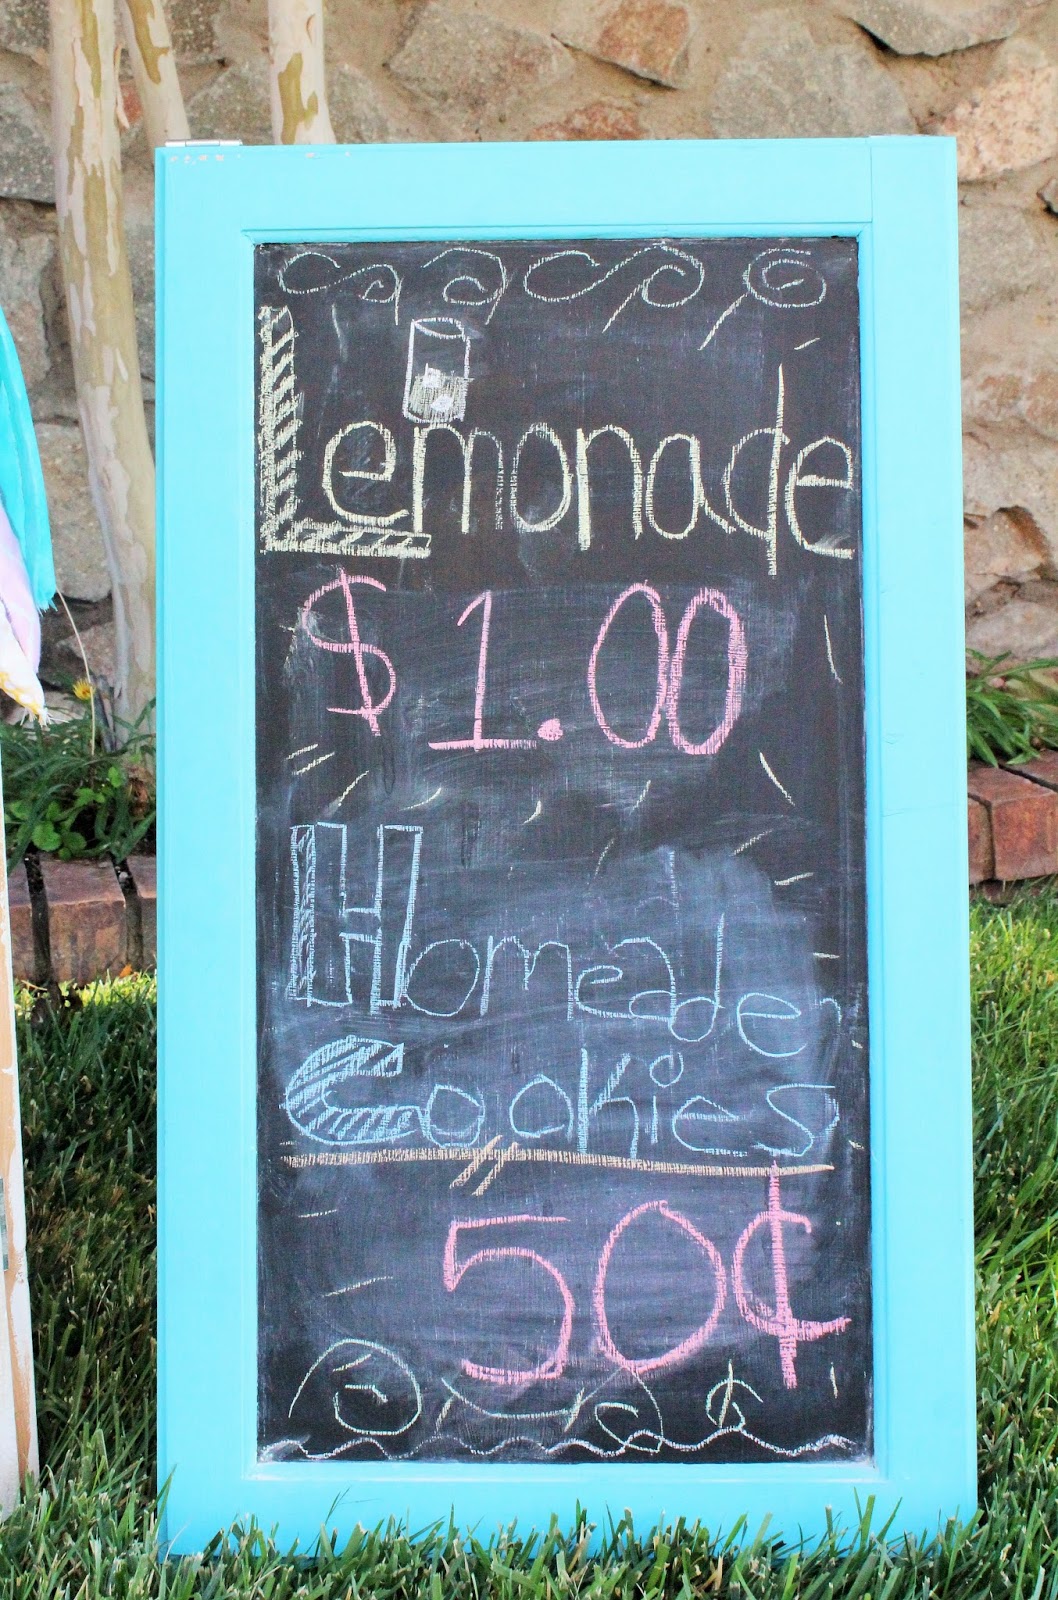
Homemade cookies and a large cup of iced, fresh lemonade.
It doesn't get much better than that on a hot afternoon.
Making some money for the summer camp she'll attend.
"Lemonade, ice cold lemonade and cookies for sale!"

This is really cute! Thanks for sharing!
ReplyDeleteWe had a lot of fun making it! Thanks for your comment!
ReplyDeleteWhat a cute stand. I bet the kids must be so happy to have this to sell their lemonade. Why if I were closer I'd come over for a glass!
ReplyDelete